- PolyJet Legacy Printers
- Alaris30 V1
- Connex260
- Connex350/500
- Eden250
- Eden260
- Eden260V/VS
- Eden330
- Eden350
- Eden350V/500V
- J700 & J720 Dental
- J750/J735
- J750 Digital Anatomy
- Objet24/30 V2 Family
- Objet24/30 V3 Family
- Objet30 V5 Pro & Prime
- Objet260 Connex 1-2-3
- Objet260 Dental & Dental Selection
- Objet350/500 Connex 1-2-3
- Objet1000 Plus
- PolyJet Materials
- Agilus30 family
- Biocompatible
- Biocompatible Clear MED610
- Dental Materials
- Dental TrueDent Materials
- Dental TrueDent-D Materials
- Digital ABS Plus
- DraftGrey
- Elastico Clear/Black
- High Temperature
- PolyJet Support
- Rigur & Durus
- Tango
- ToughONE™
- MED610-DSG
- Transparent
- Vero ContactClear
- Vero Family
- Veroflex
- VeroUltra Opaque
- Vivid Colors
- Stereolithography Materials
- Somos® 9120™
- Somos® BioClear™
- Somos® DMX SL™ 100
- Somos® Element™
- Somos® EvoLVe™ 128
- Somos® GP Plus™ 14122
- Somos® Momentum™
- Somos® NeXt™
- Somos® PerFORM™
- Somos® PerFORM Reflect™
- Somos® ProtoGen™ 18420
- Somos® ProtoTherm™ 12120
- Somos® Taurus™
- Somos® WaterClear® Ultra 10122
- Somos® WaterShed® AF
- Somos® WaterShed® Black
- Somos® WaterShed® XC 11122
- Somos® WaterShed® XC+
Take a Quick Tour
GETTING STARTED GUIDE:
This article shows the names of all the elements of GrabCAD Print and has links to the related articles.
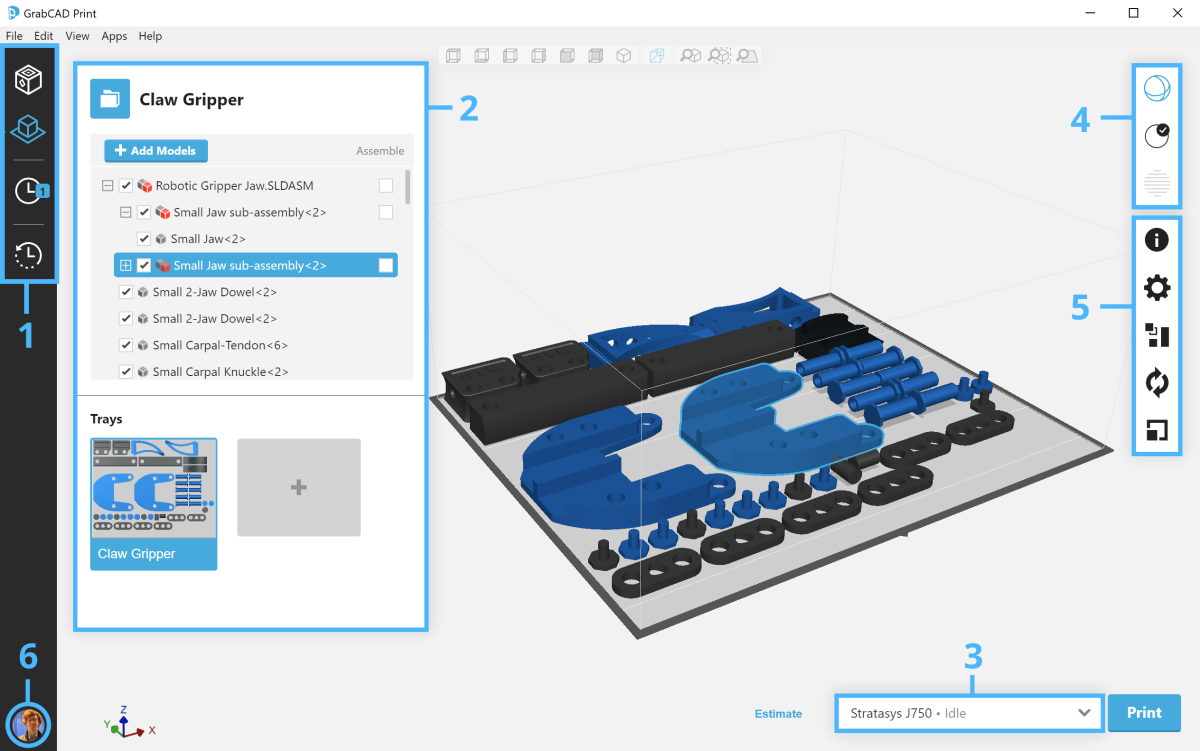
Main Navigation
![]()
Print (shown above)
Schedule ( go to article)
Reports ( go to article)
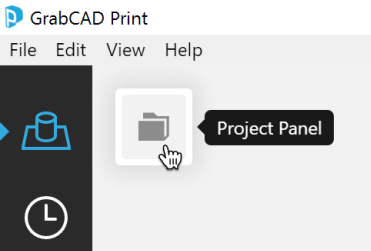
Project Panel
|
|
|
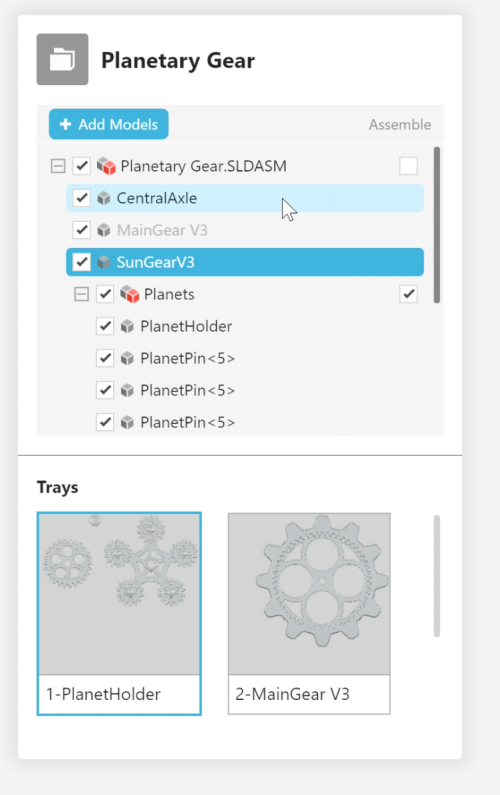
Here you can add and manage the files in your project. The same right-click menu that is available in the graphics area also works here. You can also create, remove, and estimate the trays in your project.
Learn more about managing and arranging files in your project.
Printer Panel

|
|
|
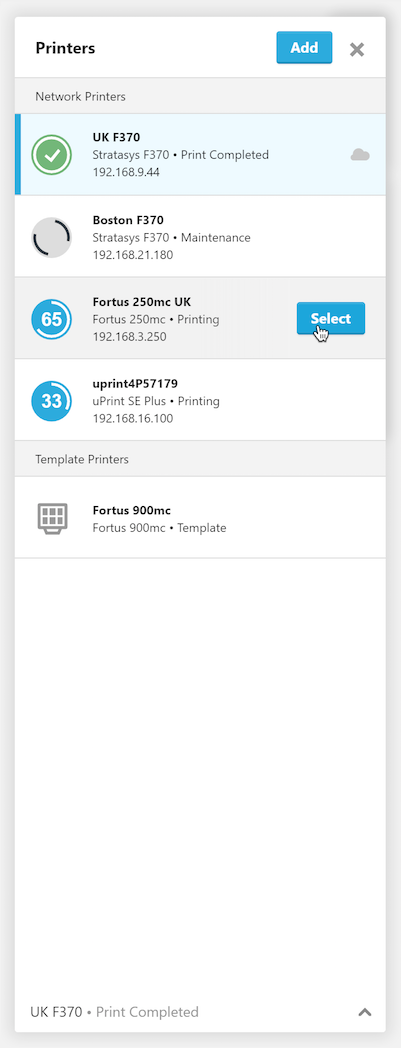
Here is where you select the printer to be applied to all of the project's trays. If you haven't connected any printers yet, click here to learn how to connect your printers.
When you first open the Printer Panel, you see the My Printers list, where you can quickly change between printers. To add a printer to this list hit "Add a printer"
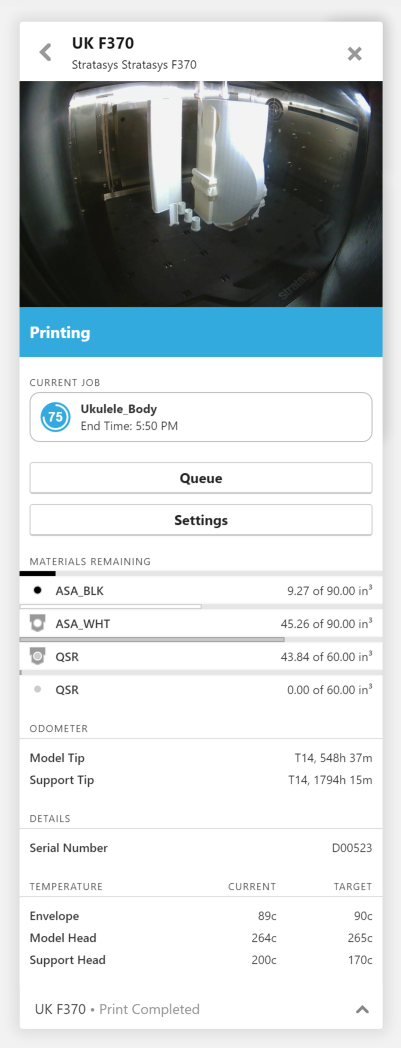
To get some details about a printer such as its material levels or status, click the printer name to go to the details panel.
In the Settings, you can change the printer's name, and if it's locally connected, you can export the job history or configuration file, as well as update the firmware.
Learn more about printing to an offline printer or managing multiple printers.
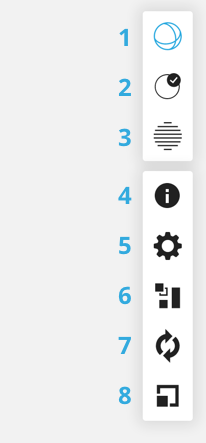
View Modes
- Model View - prepare and arrange files on trays. Learn more.
- Analysis Mode - view any mesh problems with your files and repair them with one click.* Learn more.
- Slice Preview - see how your tray will look after printing. Learn more. (Available only for FDM printers)
Tools
- Model info — change units of an STL or VRML file.
- Print Settings — change model-related settings like infill and support style, as well as tray-wide settings like material choice and slice height. Learn more.
- Arrange — automatically move parts around on the tray or trays such that there is enough space for printing. Learn more.
- Orient — Incrementally change the orientation about an axis. Also automatically orient for least support (FDM printers only) and an "Orient face to plane" feature which allows you to pick a model surface and orient it to top, front, right, etc. Learn more.
- Scale — If you select a model and open the scale tool, you can see its overall dimensions, and make adjustments to scale by inputting your desired dimension. Adjust the units in System Preferences > Units Controls > Display Units.
Login/switch account
See also: All about company accounts
The 3D Viewer
For the larger Fortus systems, the gridlines shown on the tray will be either inches or centimeters depending on your display units preference.
See also: Keyboard shortcuts and mouse controls
Next step: Start printing!
*Mesh analysis and healing functionality is provided by Polygonica by MachineWorks, Ltd. all copyrights and trademarks reserved

