- PolyJet Legacy Printers
- Alaris30 V1
- Connex260
- Connex350/500
- Eden250
- Eden260
- Eden260V/VS
- Eden330
- Eden350
- Eden350V/500V
- J700 & J720 Dental
- J750/J735
- J750 Digital Anatomy
- Objet24/30 V2 Family
- Objet24/30 V3 Family
- Objet30 V5 Pro & Prime
- Objet260 Connex 1-2-3
- Objet260 Dental & Dental Selection
- Objet350/500 Connex 1-2-3
- Objet1000 Plus
- PolyJet Materials
- Agilus30 family
- Biocompatible
- Biocompatible Clear MED610
- Dental Materials
- Dental TrueDent Materials
- Dental TrueDent-D Materials
- Digital ABS Plus
- DraftGrey
- Elastico Clear/Black
- High Temperature
- PolyJet Support
- Rigur & Durus
- Tango
- ToughONE™
- MED610-DSG
- Transparent
- Vero ContactClear
- Vero Family
- Veroflex
- VeroUltra Opaque
- Vivid Colors
- Stereolithography Materials
- Somos® 9120™
- Somos® BioClear™
- Somos® DMX SL™ 100
- Somos® Element™
- Somos® EvoLVe™ 128
- Somos® GP Plus™ 14122
- Somos® Momentum™
- Somos® NeXt™
- Somos® PerFORM™
- Somos® PerFORM Reflect™
- Somos® ProtoGen™ 18420
- Somos® ProtoTherm™ 12120
- Somos® Taurus™
- Somos® WaterClear® Ultra 10122
- Somos® WaterShed® AF
- Somos® WaterShed® Black
- Somos® WaterShed® XC 11122
- Somos® WaterShed® XC+
Start Printing!
GETTING STARTED GUIDE:
This article will take you through the basic workflow of printing using GrabCAD Print.
The basic workflow is as follows:
- Insert models
- Arrange onto trays
- Adjust print settings
- Check for mesh problems
- Estimate or preview
- Click Print!
- Manage the queue
1
Insert Models
Open the project panel and click "Add Models" to bring in some files.
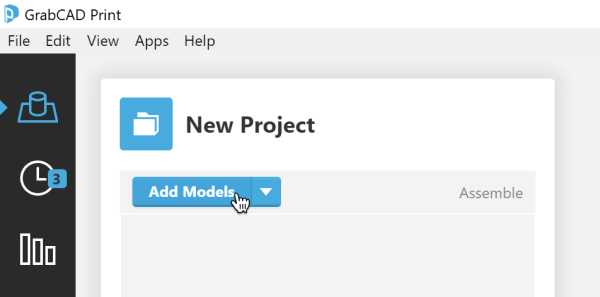
Remember, you can bring in your CAD parts and assemblies here too! As long as the component files are in the same folder as the assembly, GrabCAD Print will bring in all the component files and arrange them on the tray. Alternatively, use the "Assembled" checkbox in the models list to print assemblies as assembled.
If you brought in a unitless file format such as STL or VRML and need to change units, that tool is here:

If this happens frequently, consider changing your preference for unitless files in File > Preferences > Units Controls.
2
Arrange onto Trays
Move parts around the tray by click and drag and use the Orient and Scale tools to set up the parts as desired. Take a look at 3D printing best practices for tips on how to set up your parts for printing.
Use the right-click menu to remove parts from the tray or make duplicates.
If you've made several adjustments, you can quickly space everything out on the tray with the Arrange Tray feature found in the Arrange tool.

If you've added more parts than can fit on a single tray, GrabCAD Print will start putting parts on other trays for you. This behavior can be disabled in the System Preferences.
Click here to learn more about how to arrange models in GrabCAD Print.
3
Adjust Print Settings
The remaining tool is the Print Settings panel. Here you can adjust model-related settings like infill and support style, as well as tray-wide settings, like slice height.
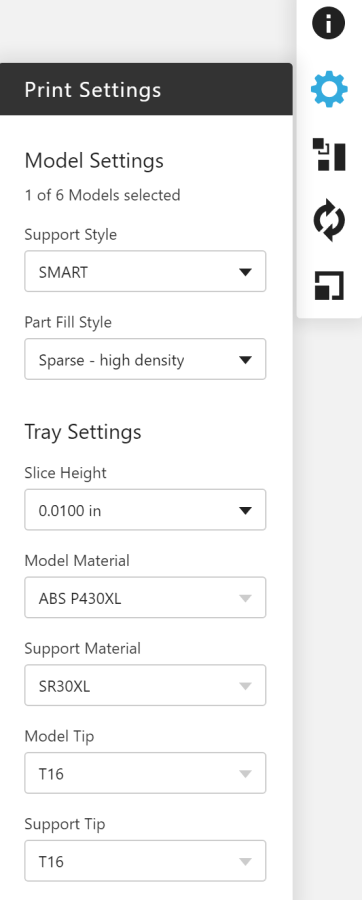
Learn more about adjusting your print settings for:
4
Check for Mesh Problems
Whether you inserted an STL model, or GrabCAD Print converted your CAD model to a mesh on the fly, there might be some open faces, inverted normals, or other technical problems with the mesh of the model. This is indicated here:
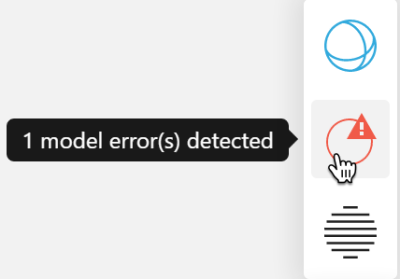
Repairing the mesh problems couldn't be easier! Just click "Repair all models" and once everything is fixed, all the models on the tray will be translucent, indicating no further issues. *
5
Estimate or Preview
Once you're ready to print, you can estimate the build time and material usage right here:

You can also check out a realistic rendering of how your tray will look like when it's done by going to Slice Preview. This is only available for FDM printers.
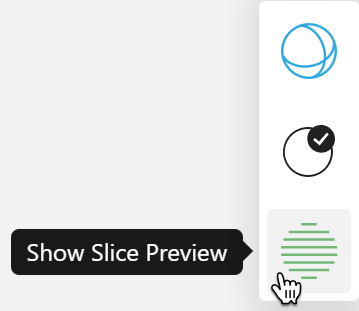
6
Click Print!
Finally, click Print to add the tray to the queue of the selected printer.

7
Manage the Queue
You can see your job in schedule view by clicking here:
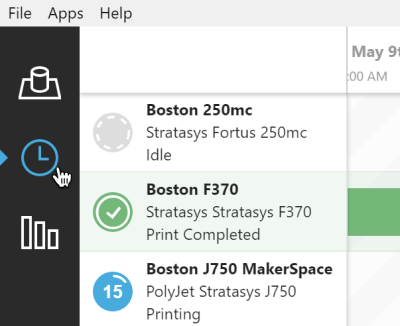
You can reorder or remove jobs in the queue with the right click menu. Click the printer to get a look at its material levels.
Next: Set up remote access
*Mesh analysis and healing functionality is provided by Polygonica by MachineWorks, Ltd. all copyrights and trademarks reserved.
