- PolyJet Legacy Printers
- Alaris30 V1
- Connex260
- Connex350/500
- Eden250
- Eden260
- Eden260V/VS
- Eden330
- Eden350
- Eden350V/500V
- J700 & J720 Dental
- J750/J735
- J750 Digital Anatomy
- Objet24/30 V2 Family
- Objet24/30 V3 Family
- Objet30 V5 Pro & Prime
- Objet260 Connex 1-2-3
- Objet260 Dental & Dental Selection
- Objet350/500 Connex 1-2-3
- Objet1000 Plus
- PolyJet Materials
- Agilus30 family
- Biocompatible
- Biocompatible Clear MED610
- Dental Materials
- Dental TrueDent Materials
- Dental TrueDent-D Materials
- Digital ABS Plus
- DraftGrey
- Elastico Clear/Black
- High Temperature
- PolyJet Support
- Rigur & Durus
- Tango
- ToughONE™
- MED610-DSG
- Transparent
- Vero ContactClear
- Vero Family
- Veroflex
- VeroUltra Opaque
- Vivid Colors
- Stereolithography Materials
- Somos® 9120™
- Somos® BioClear™
- Somos® DMX SL™ 100
- Somos® Element™
- Somos® EvoLVe™ 128
- Somos® GP Plus™ 14122
- Somos® Momentum™
- Somos® NeXt™
- Somos® PerFORM™
- Somos® PerFORM Reflect™
- Somos® ProtoGen™ 18420
- Somos® ProtoTherm™ 12120
- Somos® Taurus™
- Somos® WaterClear® Ultra 10122
- Somos® WaterShed® AF
- Somos® WaterShed® Black
- Somos® WaterShed® XC 11122
- Somos® WaterShed® XC+
Using Shop as a Requester
This guide begins with the setup instructions for the admin, then explains the workflow for both machine operators and requesters.
- Setting up GrabCAD Shop
- Using Shop as a Requestor
- Using Shop as an Operator
Skip to:
1
Log into GrabCAD Shop at shop.grabcad.com. You will be brought to your GrabCAD Shop home page. As a requester, you have been invited by an admin to use GrabCAD Shop to submit 3D printing or fabricating requests to operators in your model shop.
2
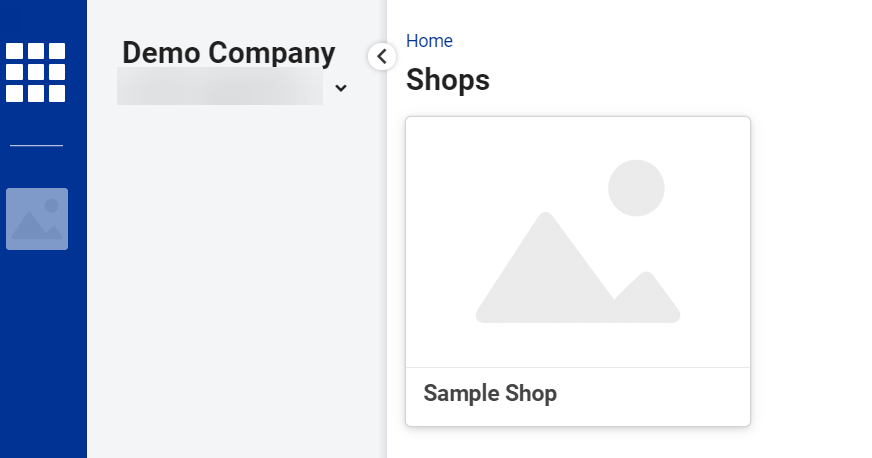
Select a Shop from the list of Shops (you may only have one) to get to the Orders dashboard. Here you can see all your past orders, and their statuses. By default, only your Active Orders are shown.

3
Click New Order to submit your first order. Once you submit an order, an operator will get in touch with you.
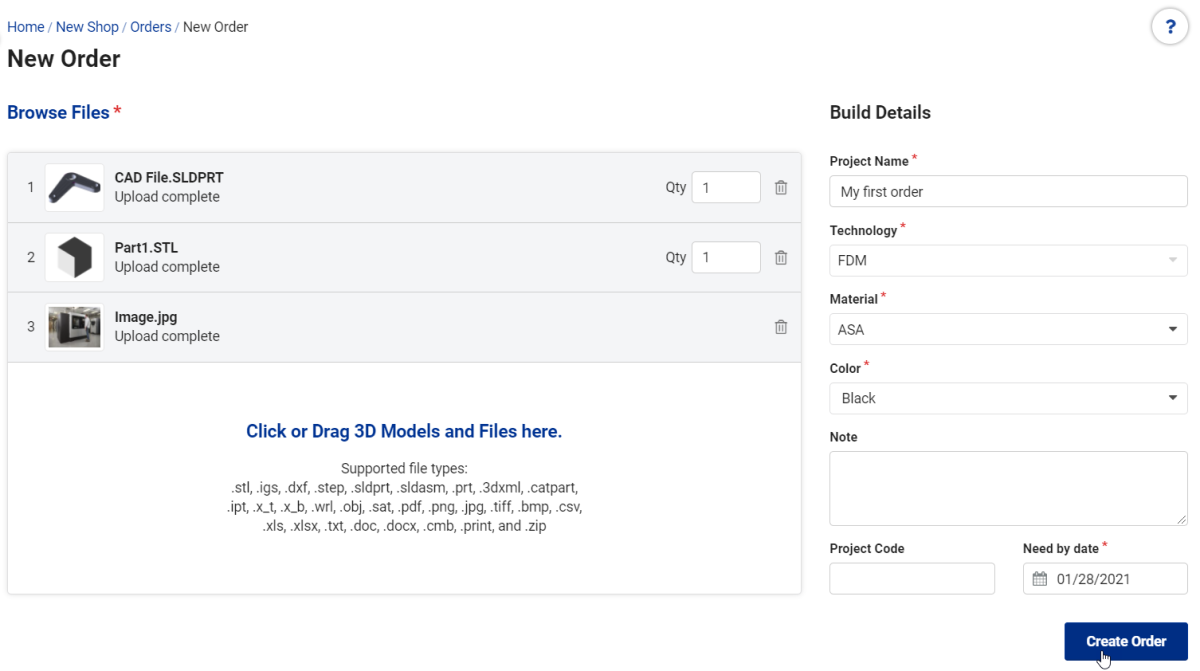
Files that you add to your order will take some time to upload and process. When the processing is complete a thumbnail is visible.
You can set the desired quantity for each file.

Project Name, Technology, Material, and Color are required fields, but you can leave the choice as “Any” if they are not important for this order. The operator may edit the order with their selection later.
Use the Note field to add any additional requests about the order to the operators. It will appear as the first comment on the order, once you submit it.
The Project Code field can be used to distinguish a billing group, department or location in your company for the order, if you need to.
The Need by date is a required field so that the operators can prioritize your order. They will enter a delivery date when they have a realistic estimate.
4
Click Create Order to submit it. This sends an email notification to the operators. You will be brought back to the orders dashboard shown above.
5
Click on the order in the list to see a detailed view and add comments.
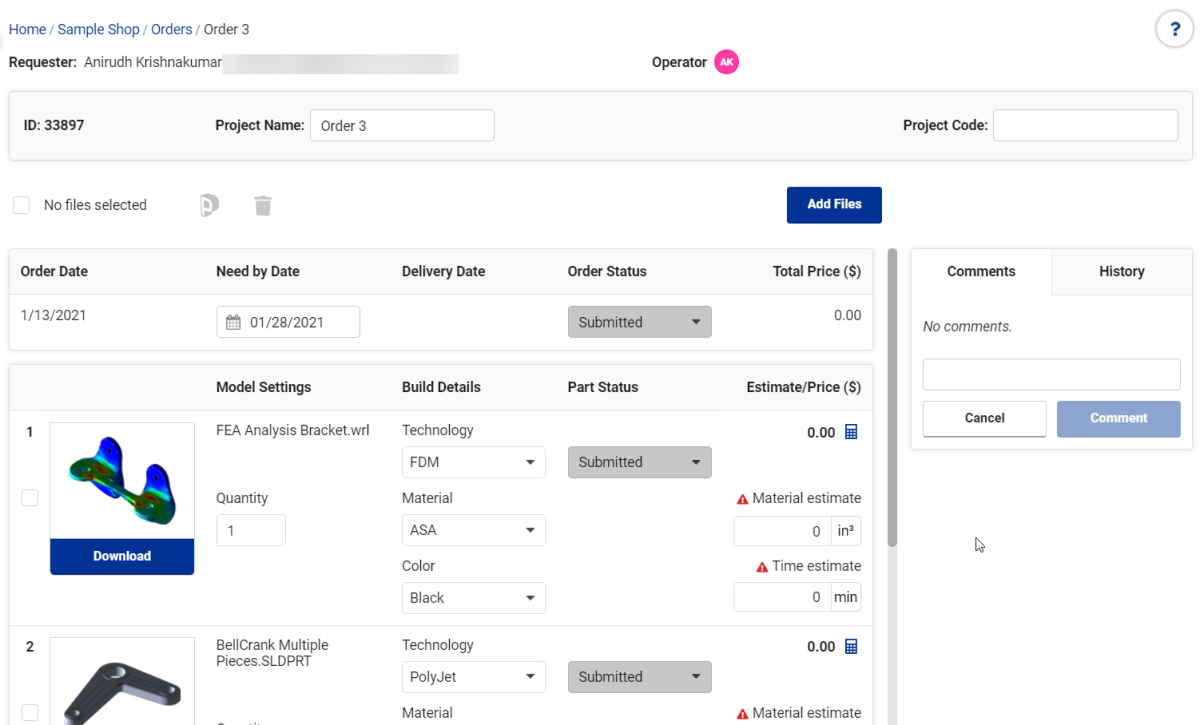
While the order is in the "Submitted" status, you can still make any changes or add files.
When an operator in your company is assigned to your order, you will be notified via email. This person is then your point of contact for this order and will be responsible for communicating statuses or fulfilling it. If an operator is assigned to your order, any comment you add with send him / her an email notification. If the Operator makes an edit, updates the status, enters a price or a comment, you will receive an email notification.
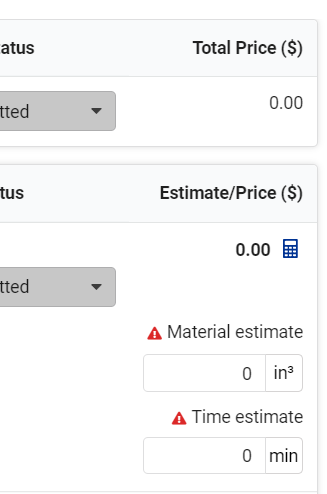
If your shop and operators provide price quotes, you can see an order price and a part price, along with a detailed breakdown by clicking the Calculator icon.
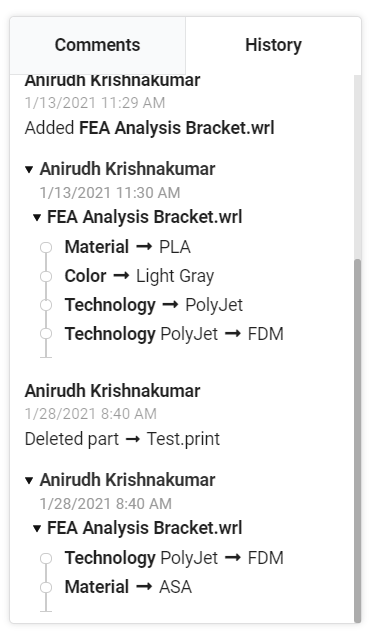
You can always click History to see all the activity in your order.
Here is a short video that summarizes using GrabCAD Shop as a Requester:
