- PolyJet Legacy Printers
- Alaris30 V1
- Connex260
- Connex350/500
- Eden250
- Eden260
- Eden260V/VS
- Eden330
- Eden350
- Eden350V/500V
- J700 & J720 Dental
- J750/J735
- J750 Digital Anatomy
- Objet24/30 V2 Family
- Objet24/30 V3 Family
- Objet30 V5 Pro & Prime
- Objet260 Connex 1-2-3
- Objet260 Dental & Dental Selection
- Objet350/500 Connex 1-2-3
- Objet1000 Plus
- PolyJet Materials
- Agilus30 family
- Biocompatible
- Biocompatible Clear MED610
- Dental Materials
- Dental TrueDent Materials
- Dental TrueDent-D Materials
- Digital ABS Plus
- DraftGrey
- Elastico Clear/Black
- High Temperature
- PolyJet Support
- Rigur & Durus
- Tango
- ToughONE™
- MED610-DSG
- Transparent
- Vero ContactClear
- Vero Family
- Veroflex
- VeroUltra Opaque
- Vivid Colors
- Stereolithography Materials
- Somos® 9120™
- Somos® BioClear™
- Somos® DMX SL™ 100
- Somos® Element™
- Somos® EvoLVe™ 128
- Somos® GP Plus™ 14122
- Somos® Momentum™
- Somos® NeXt™
- Somos® PerFORM™
- Somos® PerFORM Reflect™
- Somos® ProtoGen™ 18420
- Somos® ProtoTherm™ 12120
- Somos® Taurus™
- Somos® WaterClear® Ultra 10122
- Somos® WaterShed® AF
- Somos® WaterShed® Black
- Somos® WaterShed® XC 11122
- Somos® WaterShed® XC+
Yellowish Tint in Clear Parts
Yellowish Tint in Clear Models
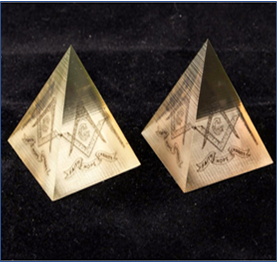
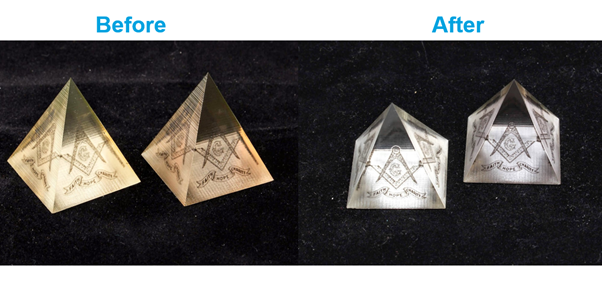
Sometimes, parts printed with clear material feature a yellowish tint. The yellowish tint will fade over time, but there are a few things you can do to alleviate the issue or make the yellowing fade faster.

Possible Causes and Solutions
Excessive UV Exposure
The yellowish tint in clear parts is caused by excessive UV exposure during the print.
Solution: Use a suitable photobleaching treatment to expose printed parts to intense light, using an illumination chamber, floodlights, or lamps. You can remove most of the yellowing within 24 hours or less, depending on the transparent material you printed with and the geometry of your model.
Preventive measures: Follow these recommendations:
- Print in matte whenever possible to provide a protective layer.
- When printing in glossy, try to arrange all parts at similar heights
- As a good general practice for avoiding traces of other materials, run the Material Replacement and Cleaning wizards, and clean the print heads, roller, wiper, and roller waste collector.
After photobleaching, polishing will further enhance clarity.

TIP: For more instructions, refer to the following resources in the Stratasys Support Center and in the GrabCAD Print Community:
