
Starting the Head-Replacement Procedure
To begin the head-replacement procedure:
| 1. | Start the Head Optimization wizard from the Options menu. |
| 2. | In the opening wizard screen, click to begin. |
The Wizard Conditions screen appears.
| 3. | Read the conditions, select and click . |
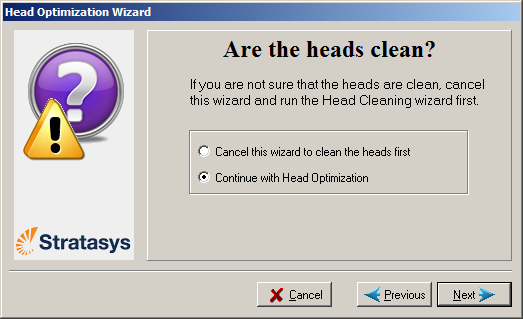
| 4. | In the following screen, select if you have recently cleaned the print heads. Otherwise, cancel the wizard and run the Cleaning wizard. |
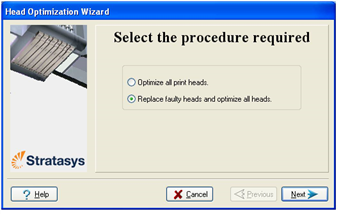
After you select the print head(s) needing replacement, the printer heats and empties the print block, and prepares the printer.
The following screen appears when the printer is ready for you to replace print heads.
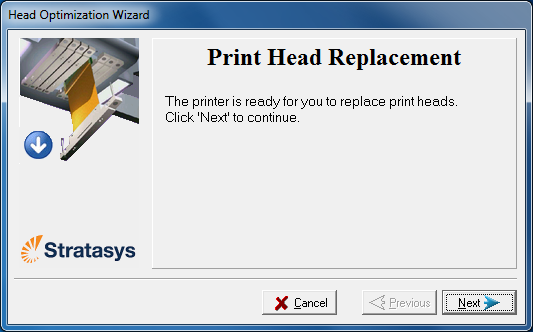
| 7. | Put on the protective gloves and open the printer cover. |
Note: The printer disconnects power to the heads for your safety.
Continue with Removing the Defective Head.
| Questions, comments, suggestions? c-support@stratasys.com | Legal | © Stratasys |