
Removing the Defective Head
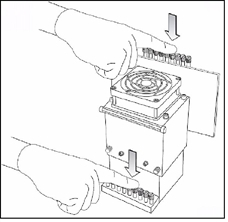
| 1. | On the print block, release the upper and lower screws that secure the print head in the block. (If necessary, you may use a screwdriver to loosen the screws.) |

| 2. | Press down on the upper and lower locking screws to release the print head. |
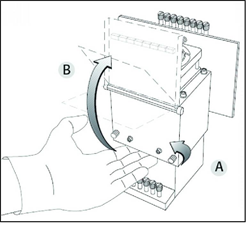
| 3. | Loosen the screws on the door of the compartment protecting the print‑head driver cards (A), then pull and lift up the door (B). |
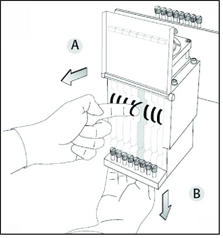
| 4. | Pull the print-head driver card out of its socket so that the head is free (A), and remove it from the bottom of the print block (B). |
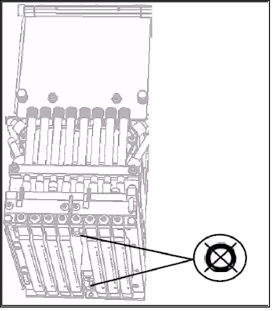
| 5. | Make sure that along with the head, you remove the two rubber O-ring seals. |

Important
If the seals are not removed with the head, they are probably stuck to the print block housing. If so, remove them.
Continue with Installing the New Head .
| Questions, comments, suggestions? c-support@stratasys.com | Legal | © Stratasys |