
Installing the New Head
| 1. | Inspect the replacement head, and make sure that the O-ring seals are in place. |
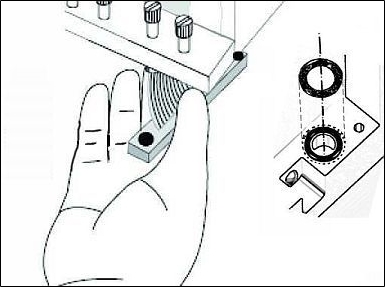
| 2. | Gently insert the replacement head into the vacant slot in the print block, and push the print-head driver card into its socket. |
Note: Make sure to insert the head with the driver card facing its socket, in the rear of the print block.
| 3. | Push the head up until you hear it click into place, in both front and rear holders. |
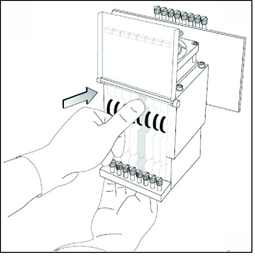
| 4. | Lower the door of the print head compartment, and tighten the screws to lock it in place. |
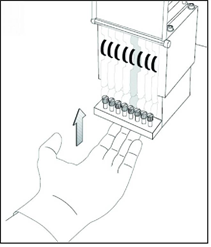
| 5. | Tighten the upper and lower screws that secure the print head in the print block. |
Note: Hand-tighten these screws. Do not use a screwdriver.
Continue with Completing the Head Replacement Procedure.
 Related Topics
| Questions, comments, suggestions? c-support@stratasys.com | Legal | © Stratasys |