Replacing the Roller Scraper
You should replace the roller scraper blade—
|
•
|
after 1,000 hours of printing. |
|
•
|
if it does not effectively keep the roller clean. |
To replace the roller scraper:
|
•
|
a new roller scraper blade |
|
•
|
a Phillips 1x75 mm screwdriver |
|
•
|
a 2.5-mm and a 2-mm hex (Allen) key |
|
3.
|
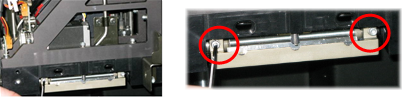
Loosen the two screws securing the roller waste collector and pull it out. |
|
4.
|
Remove the screws that secure the roller scraper assembly. |
|
5.
|
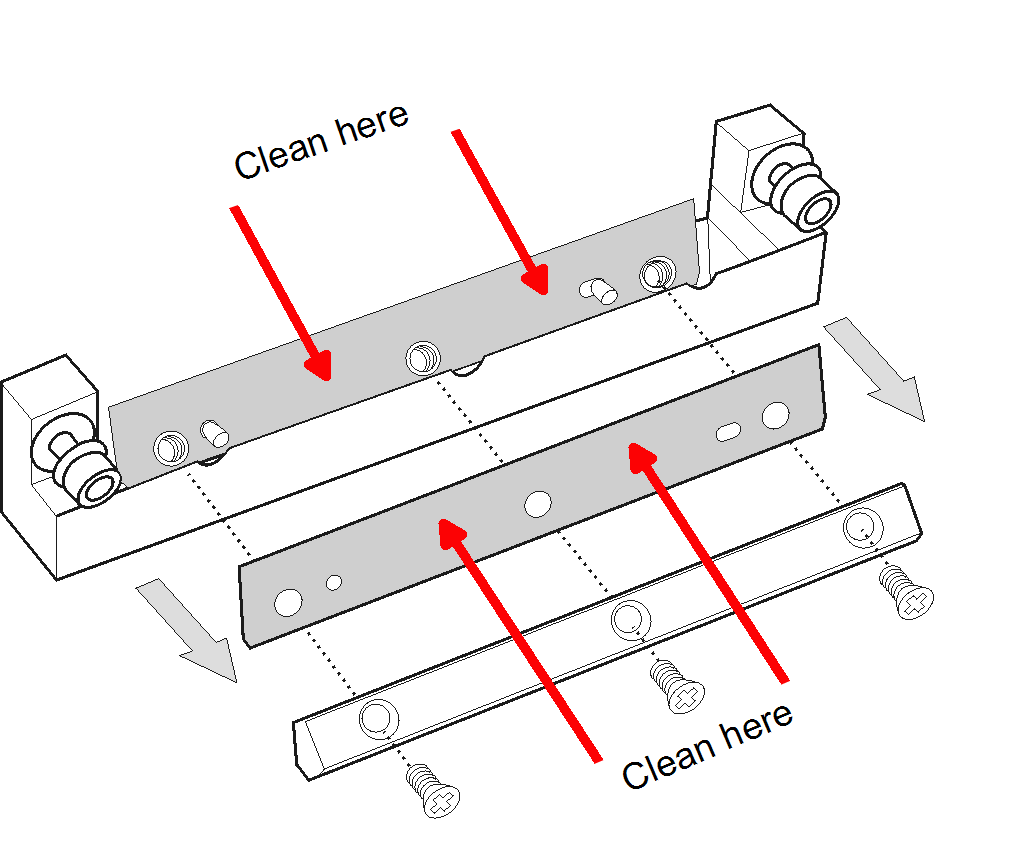
Remove the scraper blade and discard it. |
|
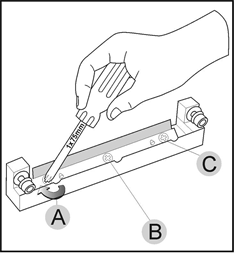
6.
|
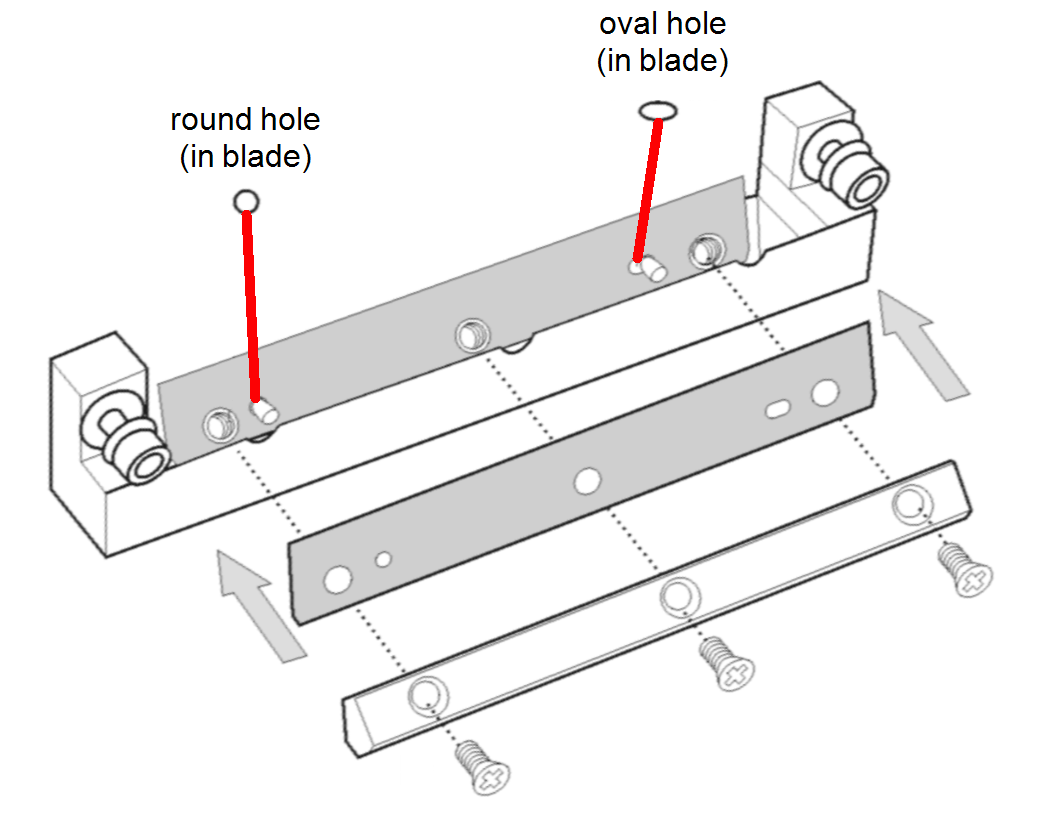
Place the new scraper blade onto the pins in the holder, as shown. |
|
7.
|
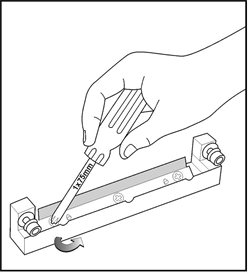
Insert and tighten the roller scraper blade screws. |
- Tighten the screws in the order shown in the figure below.
- Use the new screws supplied in the replacement kit
|
8.
|
After tightening the screws, inspect the blade and make sure that it is straight. If necessary, loosen the screws and tighten them again, evenly. |
|
9.
|
Return the roller waste collector assembly and attach the right UV-lamp assembly to the print block. (See steps 3 to 5 in To re-assemble the components.) |