
Pattern Test
The pattern test is the basic verification of the printer’s ability to produce quality 3D prints, since it demonstrates the condition of the nozzles in the print heads. Make sure, therefore, that you perform this test weekly, and whenever you suspect a printing problem.
To perform the pattern test:
| 1. | Make sure that the build tray is empty. |
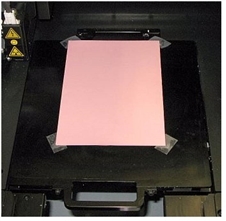
| 2. | Prepare a sheet of pink paper, |
| 3. | In the printer, tape the pink paper to the center of the build tray. |
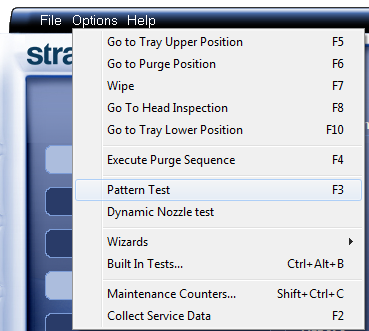
| 4. | Press , or open the Options menu and select . |
| 5. | Click in the Confirm dialog box to begin. |
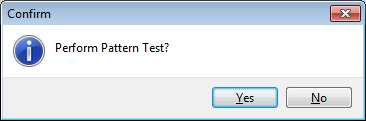
| 6. | If the build tray is not clear, click in the following dialog box. |
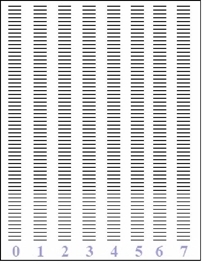
| 7. | Carefully inspect the test paper to see if there are missing lines. |
Too many missing lines, especially if they are in the same area, indicates that the quality of printing when producing 3D prints will be poor. If this is the case, see Improving Print Quality.
Note: Acceptable 3D print quality is subjective, and depends on the type and scale (size) of the 3D prints produced.