Replacing the Waste Container
Printer waste contains partially cured polymeric material, collected during normal operation and maintenance of the printer. For safety and environmental reasons, this material is kept in a special leak-proof, disposable container.
The container has a capacity of about 8 kilograms of waste material—usually enough for several months of printer use.
The printer application displays a warning message when there are
7.3
kilograms of material in the container, and stops the printing when the net weight reaches
7.8
kilograms. Above
7.3
kilograms, the software does not allow you to start a printing job or activity until you replace the waste container.
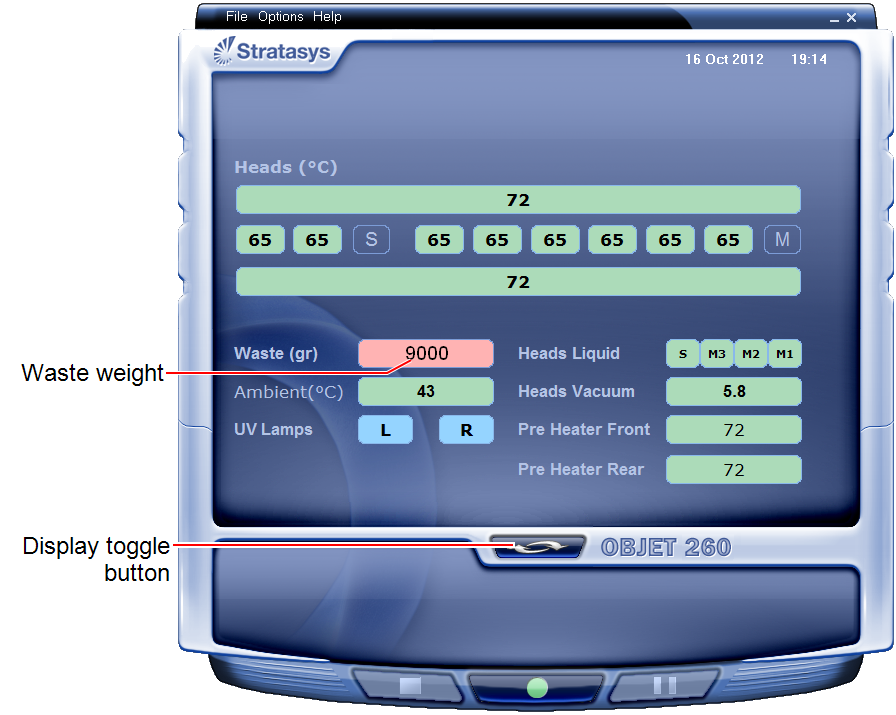
You can monitor the weight of the waste container in the Printer Indicators display in the printer interface.
You can also visually inspect the level of waste in the container.
To monitor the waste weight (and other indicators) in the printer:
|
➢
|
In the main printer interface screen, click the display toggle to view the printer indicators. |
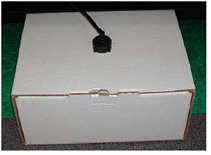
The waste container consists of a plastic container inside a cardboard box. You typically dispose of the entire waste container—including the box. Therefore, you must assemble a new box and insert a new plastic container before you can install it in the printer.
Replacement boxes, plastic containers, and sealing caps are supplied in the printer start-up kit and in the preventive-maintenance kit.
To prepare a new waste container:
|
1.
|
Assemble the cardboard box, making sure to punch out the perforated sections. |
|
2.
|
Fold a new waste bag—so it fits in the box—and insert the bag’s screw-connector into the hole in the top of the box.
|
Note: Do not close the box until you connect the waste drain tube from the printer.
To replace the waste container:
|
1.
|
Push the door of the lower printer compartment to open it. |
|
2.
|
Push in the top-center of the door to release the latch and open the door. |
|
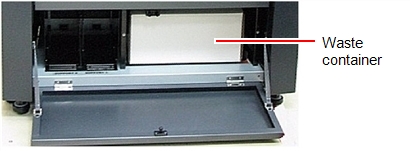
3.
|
Carefully slide out the waste container to remove it from the printer. |
|
4.
|
Place the new waste container next to the full container. |
|
5.
|
Unscrew the cap securing the waste drain tube and connect it to the new container. |
|
6.
|
Close the full container with the cap supplied with the new waste container. |
Note: The sealing cap contains an inner stopper that prevents leakage when the cap is tightened. Do not be concerned that air can still flow through the opening on the top of the cap, since the inner stopper seals the waste container.
|
7.
|
Close the new waste container box.
|
|
8.
|
Position new the waste container in the printer. |
Note: Make sure that the waste drain tube is not crimped or twisted, and that it is not pinched by the container.
|
9.
|
Close the compartment door.
|
Dispose of the full waste container in accordance with environmental and safety requirements.