
Splitting Objects into Components
You can convert a complex object to an assembly of component parts. To do so, you split the stl file that represents the object into a group of separate stl files, each one representing a component. (This is referred to in the Objet Studio interface as separating the object into shells.) You can then assign a model material to each stl file, and you can save the newly-created assembly as an objdf file.
To split an object into an assembly of component parts:
| 1. | If the object is not displayed, place it on the build tray by inserting its stl file (see Placing Objects on the Build Tray). |
The object appears—on the build tray and in the model tree pane—as a single part. It is assigned, by default, the “primary” model material. (If Objet Studio is configured with a secondary material, you can assign it—or a digital material—to the entire object. This is explained in Model-Material Settings.)
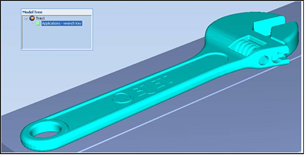
Object placed on the build tray from a single stl file
Note: There is no need to resize or arrange the object on the build tray at this time.
| 2. | With the object selected: |
| • | From the Object menu, select . |
or—
| • | On the ribbon, click 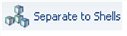 . . |
A dialog box opens in which you can specify where to save the component stl files. (By default, Objet Studio offers to save the new files in a folder in the same location as the original stl file.)
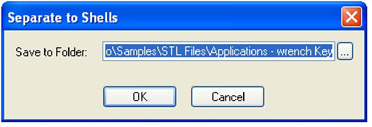
Folder selection for saving stl files after splitting into shells
| 3. | Click . |
Objet Studio splits the object into an assembly of component parts, each a separate stl file (“shell”).
The object appears—on the build tray and in the model tree—as an assembly of parts (“shells”). You can assign each part a different model material (This is explained in Model-Material Settings).
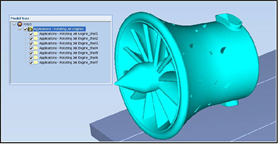
Object after being converted to an assembly of component parts
 Related Topics
| Questions, comments, suggestions? c-support@stratasys.com | Legal | © Stratasys |