
How to Install Objet Studio
Objet Studio software is installed during printer installation. This section is provided in case you need to reinstall Objet Studio, or install it on a remote (client) computer.
The Objet Studio setup wizard guides you when installing this software.
To install Objet Studio software:
| 1. | Connect the USB flash drive (supplied with the printer) to a USB port. |
| 2. | On the USB flash drive navigate to the Objet Studio installation file, and run it. |
| 3. | To install Objet Studio, you must agree to the license agreement. After reading its terms, click to continue, or to close the wizard. |
If you click , the following screen should appear.
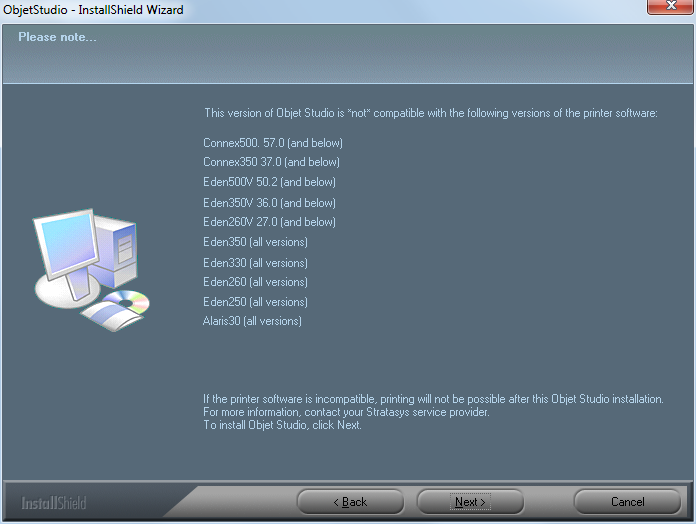
Objet Studio compatibility check
| 4. | Make sure that your printer is compatible with Objet Studio by checking the list displayed. |
Note: The printers displayed are legacy printers that are not compatible with this version of Objet Studio.
| 5. | In the Installation type screen, select the required installation option. |
Select —
| • | if you are installing Objet Studio on the server (“host”) computer—one of the computers inside the printer. |
| • | if you are installing Objet Studio on a standalone (off-line) computer. |
Select if you are installing Objet Studio on a “client” workstation—a remote computer that prepares print jobs and then sends them to a server computer.

Objet Studio configuration selection
| 6. | In the Choose Destination Location screen, verify the destination folder and click . |
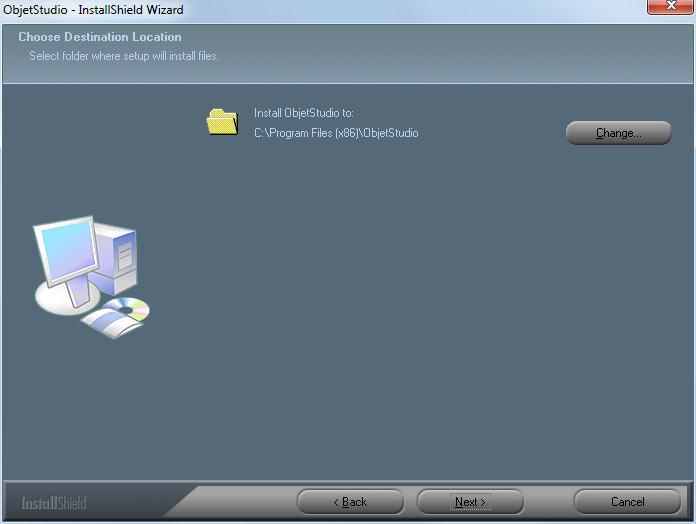
Objet Studio installation-folder selection
It is recommended that you do not change the default destination folder.
| 7. | In the Select Printer Type screen, select the 3D printer used for producing models and click . |
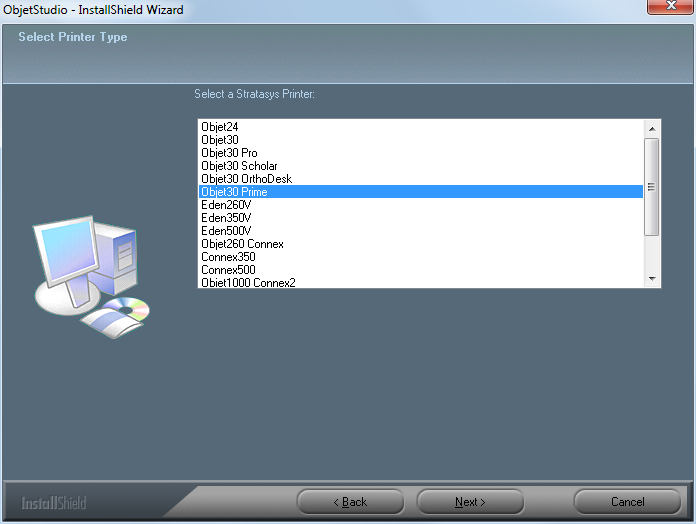
Printer selection
| 8. | When the following screen appears, click to begin installation. |
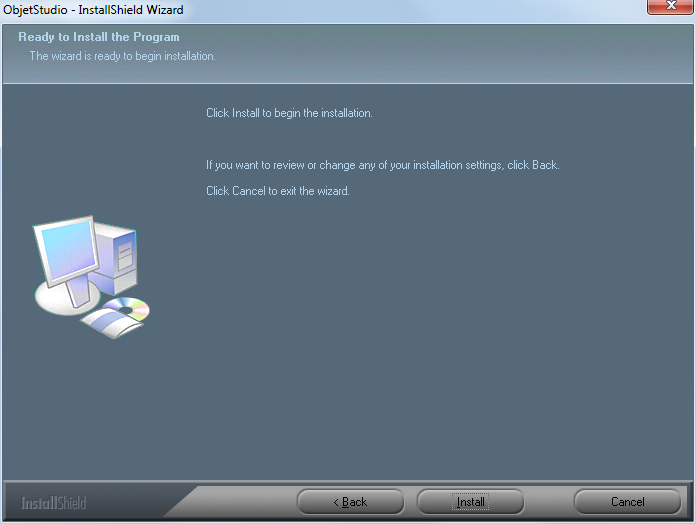
After clicking , a progress bar shows the progress of the installation process.
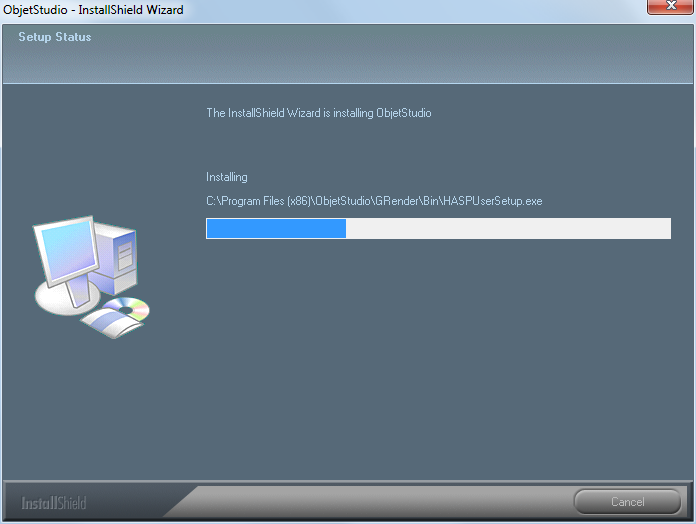
Objet Studio requires that Microsoft® DirectX® is installed on the computer. If necessary, an installation screen for this program will appear. To continue with Objet Studio installation, accept the DirectX agreement.
When installation is complete, the final InstallShield wizard screen appears.
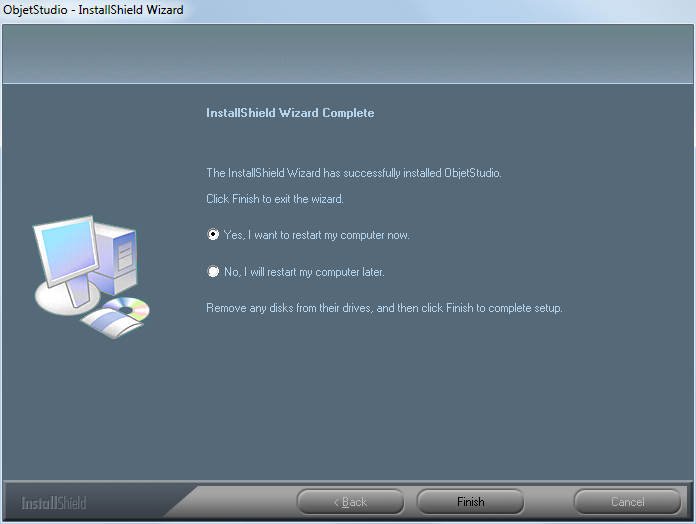
| 9. | To complete the software installation, click . |
The installation process ends when the appropriate icon(s) appear on the computer desktop:
| • | Objet Studio |
| • | Stop Job Manager (for servers and standalone stations) |
| Questions, comments, suggestions? c-support@stratasys.com | Legal | © Stratasys |