Removing the Defective Head
| 1. | On the front of the print block, loosen the screws that secure the cover protecting the print‑head driver cards. |
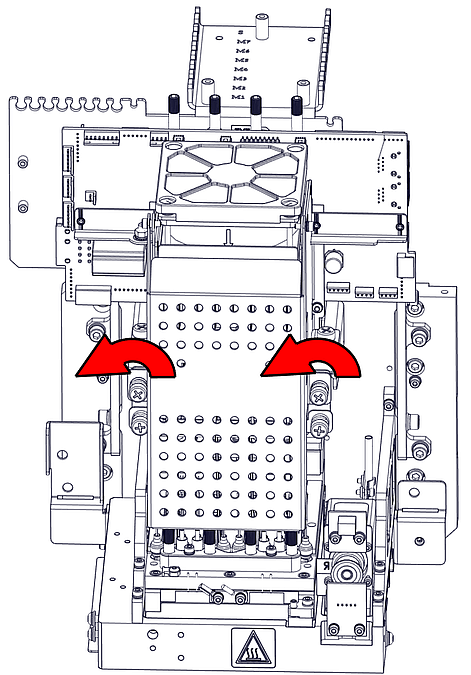
| 2. | Lift up the cover. |
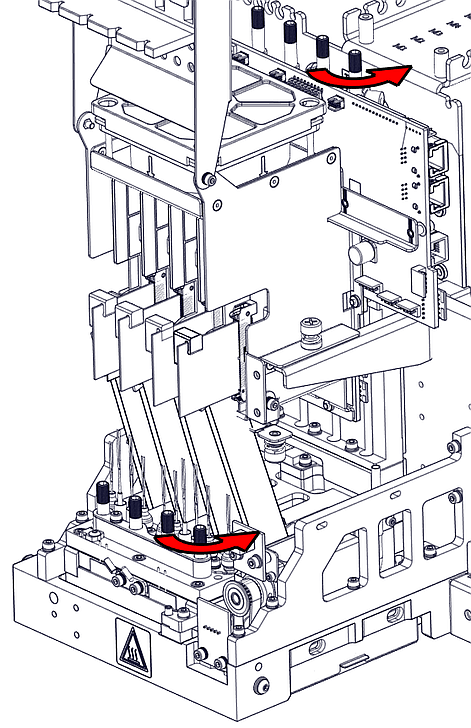
| 3. | Loosen the screws that secure the driver-card bracket, and lower the bracket. |
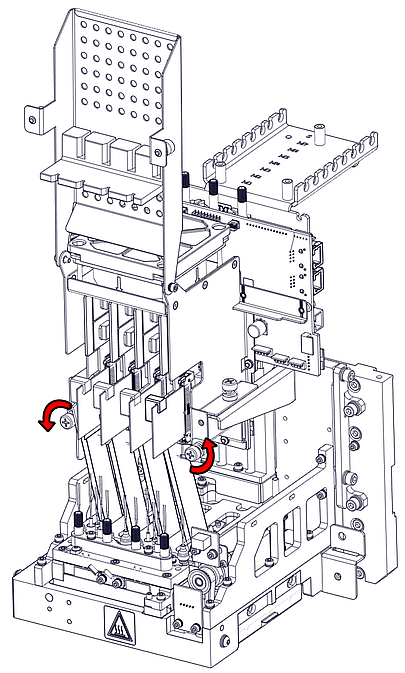
| 4. | Release the driver-card support. |
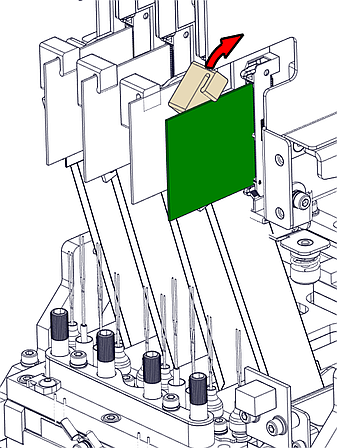
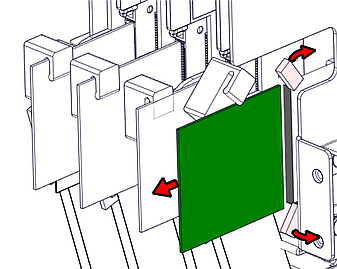
| 5. | Remove the driver card by releasing the latch at the points shown. |
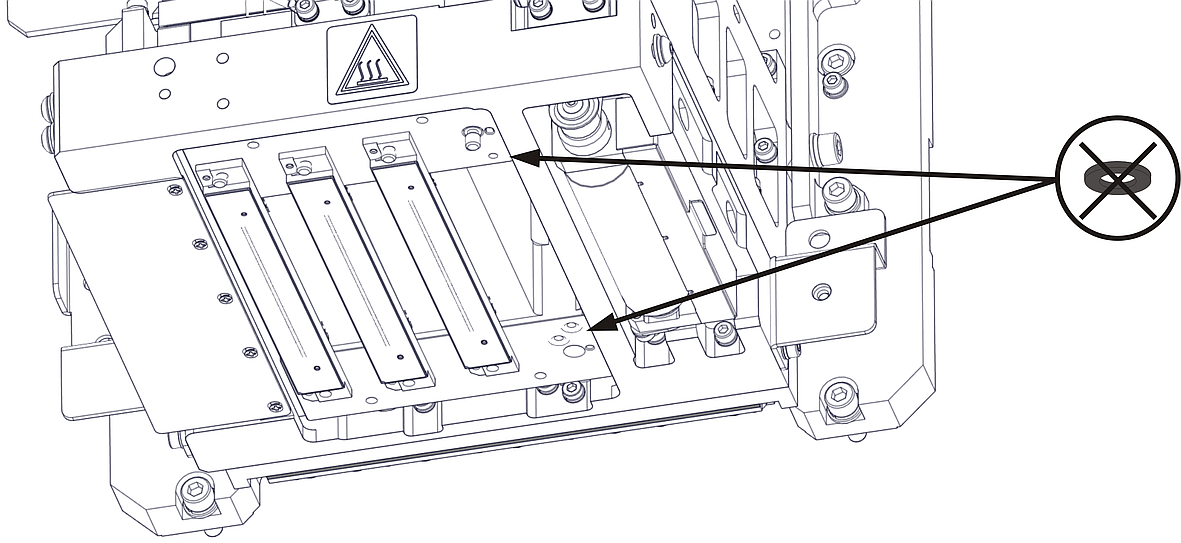
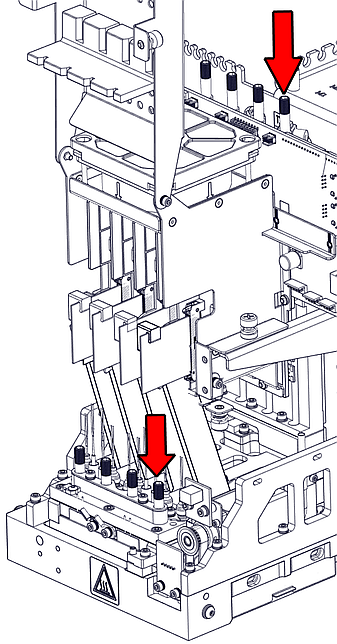
| 6. | Release the upper and lower screws that secure the print head in the block. (If necessary, you may use a 4-mm hex (Allen) key to loosen the screws.) |
| 7. | Press down on the upper and lower locking screws to release the print head, and remove it from the bottom of the print block. |
| 8. | Make sure that along with the head, you remove the four (4) rubber O-ring seals. |
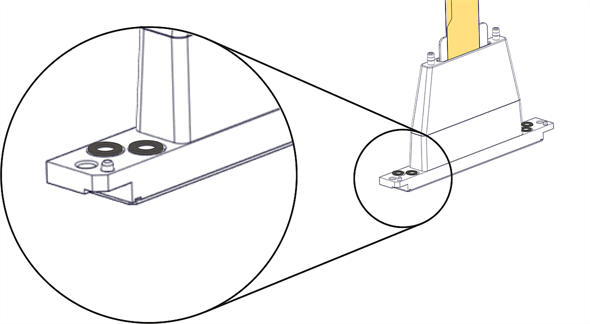
Important
If the seals are not removed with the head, they are probably stuck to the print block housing. If so, remove them.