Optimizing (Calibrating) Print Heads
The condition of the print heads directly affects the quality of 3D prints. To maintain optimum printing, you should routinely test the print heads, and calibrate them to the best working configuration possible by running the Head Optimization wizard every 300 hours of printing.
You also need to calibrate the print heads in these cases:
|
•
|
after changing the printing mode between High Mix / High Quality and one of the high-speed modes |
|
•
|
after replacing Vero with Digital ABS or Agilus30 model materials (and the reverse) |
|
•
|
after changing the type of support material (SUP705/705B/706/706B) |
|
•
|
after replacing the support material with cleaning fluid (and the reverse) |
During this procedure, you place a scale on the build tray and connect it to the printer. Printing material (resin) is jetted from each head and its weight is automatically recorded and the wizard determines how to optimize the print heads.
If, during the optimization process, the wizard determines that a print head is faulty—or that it is negatively affecting layer uniformity with the current head configuration—the wizard instructs you to replace it. If this happens, you can continue the wizard to replace the print head, or abort the wizard, to replace the head at another time.
Run the Head Optimization wizard every 300 hours of printing or whenever the condition of print heads is negatively affecting the quality of 3D prints, or if you suspect that there is a problem with one or more of the print heads.
Before running the wizard, empty the waste container. A full waste container can cause the wizard to cancel or freeze.
Note: To accurately test and calibrate print heads, they must be clean. If necessary, run the Cleaning wizard before beginning this procedure.
To test and calibrate the print heads:
|
•
|
disposable cleaning gloves (any clean, powder-free protective gloves) |
|
•
|
the Missing Nozzles ruler |
|
•
|
the scale supplied for use in the Head Optimization wizard |
Important: Before beginning this procedure, ensure that the scale is calibrated and at least partially charged.
|
2.
|
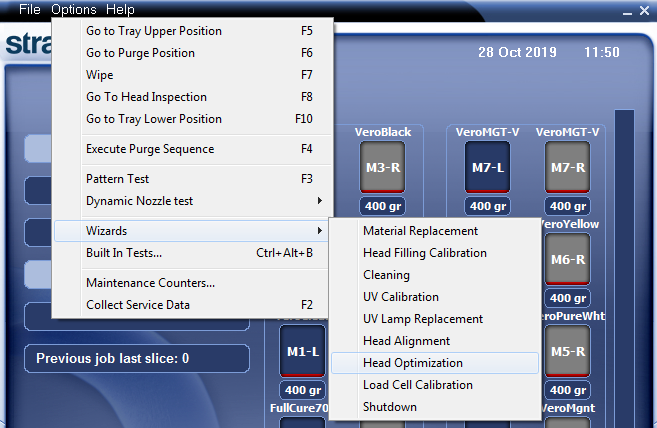
Start the Head Optimization wizard from the Options menu. |
Starting the Head Optimization wizard
|
3.
|
In the opening wizard screen, click Next to begin. |
The Wizard Conditions screen appears.
|
4.
|
Read the conditions, select I Agree and click Next. |
|
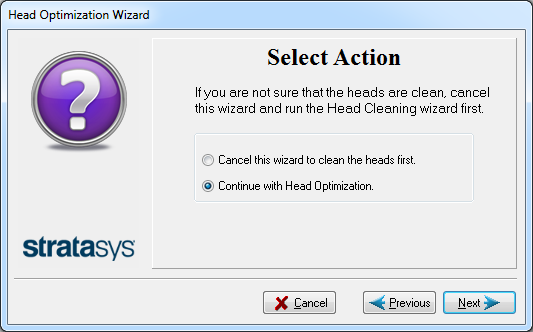
5.
|
In the following screen, select Continue with Head optimization if you have recently cleaned the print heads. Otherwise, cancel the wizard and run the Cleaning wizard. |
|
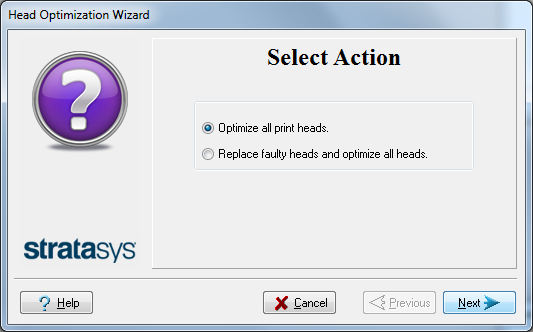
6.
|
In the following screen, make sure Optimize all print heads is selected, and click Next. |
|
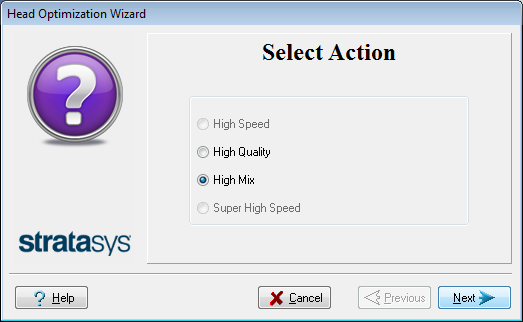
7.
|
Select the printing mode for which you want to optimize the print heads and click Next. |
Note: The mode options depend on the materials loaded in the printer.
|
8.
|
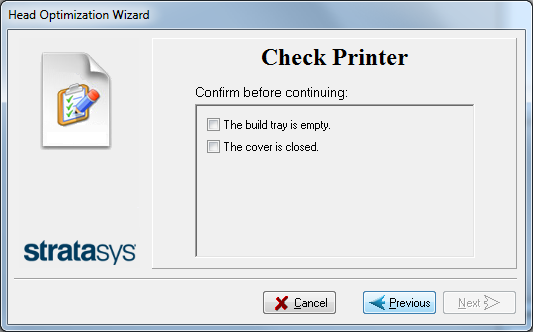
Make sure that the build tray is clear and clean, and confirm this in the wizard screen. |
|
9.
|
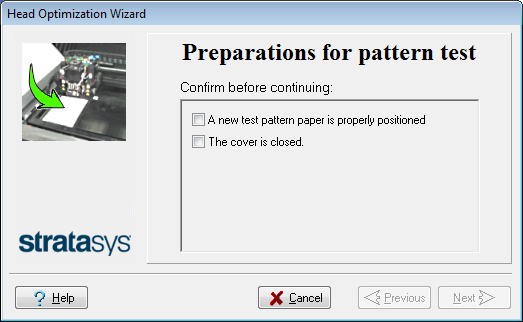
When the following screen appears, open the printer and tape a sheet of pink paper to the surface left of the build tray. |
When you click Next, the Pattern Test is printed on the pink paper.
|
10.
|
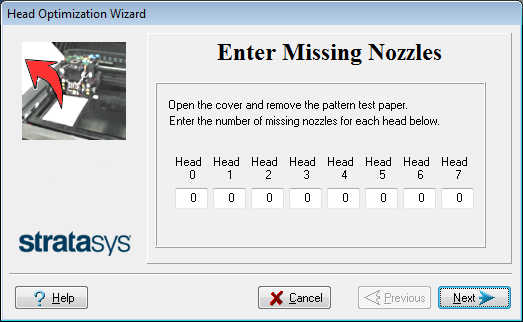
When the following screen appears, open the printer and remove the Pattern Test paper. |
|
11.
|
Carefully inspect the Pattern Test paper with the Missing Nozzles Ruler to see if there are missing lines. |
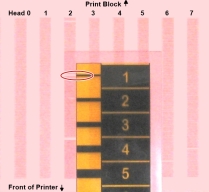
Each missing line represents a faulty nozzle in the print head.
|
12.
|
In the Missing Nozzles screen, enter the number of missing nozzles for each print head and click Next. |
|
13.
|
The wizard continues according to the number of missing nozzles you entered. |
|
•
|
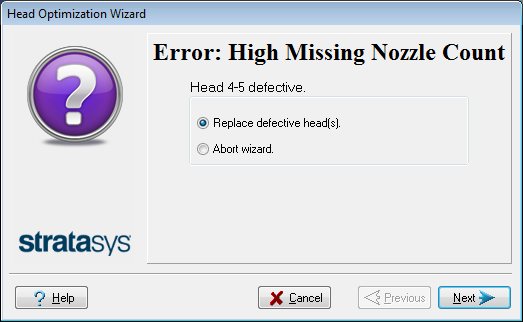
If there are too many missing nozzles for acceptable printing, the wizard instructs you to replace the defective print head(s). You can do this now, or abort the wizard. |
If you are prepared to replace print heads now, the wizard guides you through the procedure when you click Next. Make sure you have replacement heads and the required tools (see Preparation for Replacing Print Heads). Then, continue here.
|
•
|
If the number of missing nozzles in all print heads is acceptable, the wizard continues with the head optimization process (below). |
|
14.
|
Set up the scale in the printer by performing the steps listed in the wizard screen. |
|
15.
|
After confirming all of the items listed in the wizard screen, click Next. |
Printing material (resin) is jetted from each head and its weight is automatically recorded. Then, the following screen appears.
|
16.
|
Open the printer. Carefully remove the resin container from the scale and empty it into the purge unit. Then return the container to the scale. |
- To prevent contact with skin, wear neoprene or nitrile gloves.
- Dispose of uncured resin in accordance with applicable regulations. By emptying the container into the purge unit, the resin is stored in the printer’s sealed waste container.
|
17.
|
Close the printer cover, confirm the items listed in the wizard screen, and click Next. |
The printer cures the resin in the container.
|
18.
|
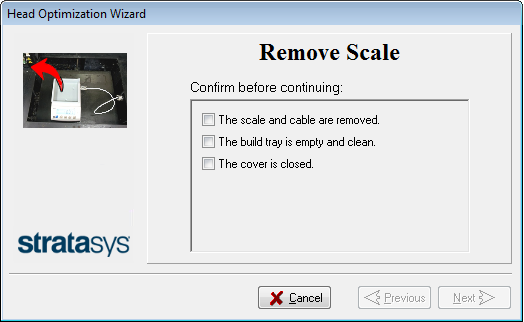
When the following screen appears, open the printer and remove the scale. |
|
19.
|
Confirm the items listed in the wizard screen, and click Next. |
The wizard uses the data collected to analyze the condition of the print heads and optimize them so they print with a uniform layer of material.
|
•
|
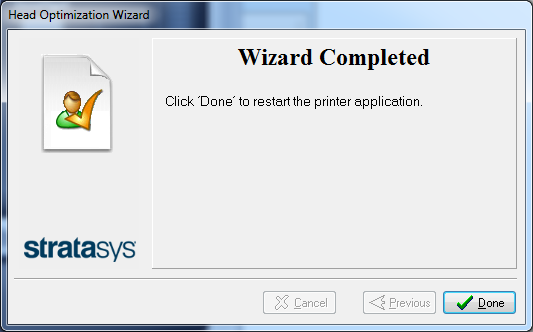
If the heads are in satisfactory condition, the following wizard screen appears. |
|
•
|
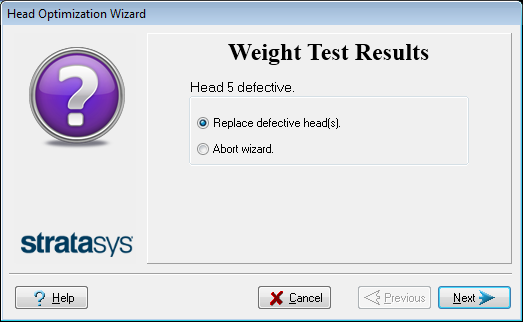
If the wizard determines that a print head is faulty—or that it is negatively affecting part quality with the current head configuration—you need to replace it. Indicate whether or not you want to do so now. |
|
•
|
Select Replace defective head(s) if you are prepared to replace the print heads now (see below). |
or—
|
•
|
Select Abort wizard if you want to replace the print heads at another time. |
Replace print heads only after consulting with an authorized Stratasys service provider.
To replace print heads, you need these tools and materials:
|
•
|
replacement print head(s) |
|
•
|
90% isopropanol (IPA—isopropyl alcohol) or ethanol (ethyl alcohol) |
|
•
|
disposable cleaning gloves (supplied with the print head; or use any clean, powder-free protective gloves) |
|
•
|
a supplied cleaning cloth or equivalent |
|
•
|
a small Phillips screwdriver |
|
•
|
the Missing Nozzles ruler |
|
•
|
the scale supplied for use in the Head Optimization wizard (Weight Test) |
Important: Before beginning this procedure, ensure that the scale is calibrated and at least partially charged.
If you are replacing print heads now, the wizard guides you through the procedure when you click Next. Continue with Replacing Print Heads.